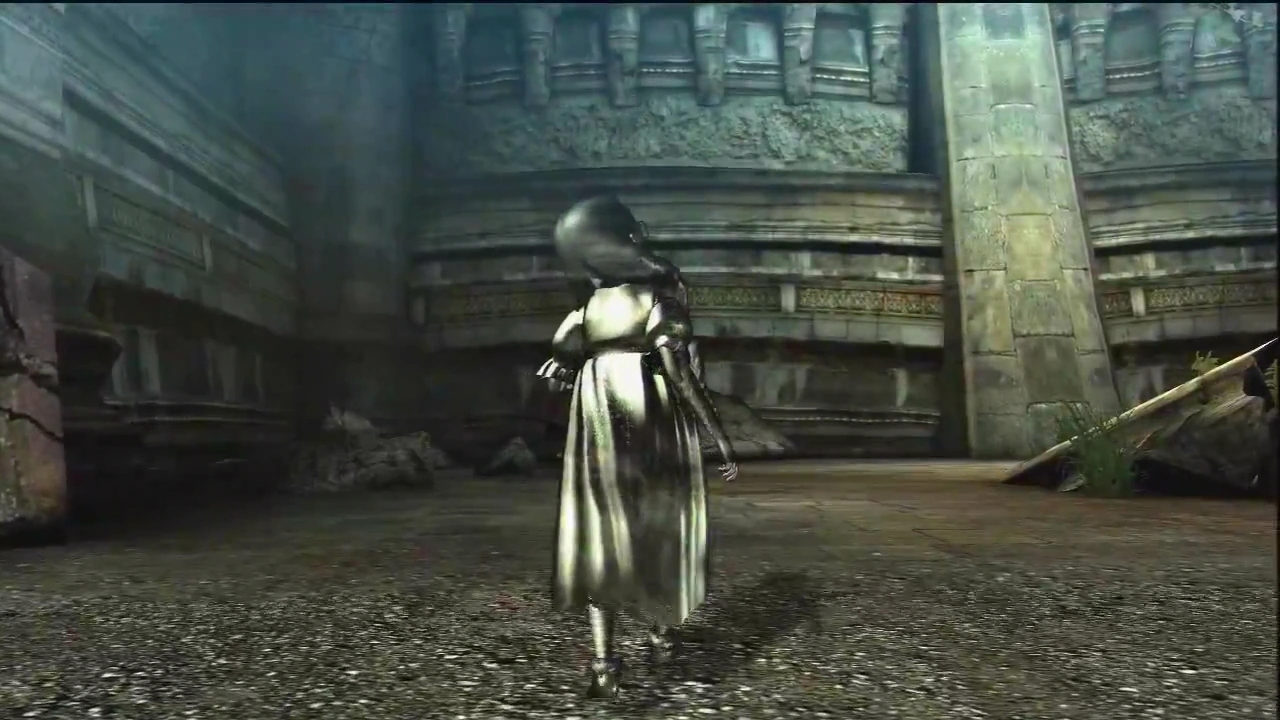
Chapter VI: The Gates of Paradise is the sixth chapter of the first game, Bayonetta. Bayonetta finds herself landing in a sacred, and restricted area of Vigrid along with a formal introduction to Cereza, a little girl who is the capture target of the angels.
Proving Ground Ruins[]
Verse 1[]

You'll start off in a small area surrounded by trees. There is a Treasure Chest (Gold LP) right behind you, and a Crow dancing on a small wall on the left (on Normal difficulty; use Panther Within and jump to reach it), and some of Antonio's notes on the right. Run down the stairs towards the door, and break it down.
Once you are inside, Ardor and a few Affinities will appear (multiple Ardor and 4 Affinities on Hard/Infinite Climax). Remember that Ardor is agile and has fast sword swings, the swings get faster and more aggressive once the shield is broken. Ardor is also weak to air attacks but will try to counter those with his leaping attack. After the fight, double jump up the left wall of the tunnel, to find another Treasure Chest (Broken Witch Heart).
Verse 2[]
After they are defeated, pressure plates will rise up. You will need to quickly touch all of them in order to open the door. For this, go back up the stairs you came from and use Panther Within to run across the three plates. The door will open, and a brief cutscene will trigger as you go through.
You will find yourself in a large cavernous area with water at the bottom and a rocky platform in the center. Jump down in the water on the left side, and destroy a pile of rocks to reveal a Treasure Chest (Gold LP). Jump onto the platform and inspect the statues, this will prompt a fight against a pair of Inspired.
Remember, this angel can be stunned easily just by shooting at it with your guns. Once it is down, try to do as much damage as possible. Be quick because the angel will recover after a few brief moments, and it will then try to swipe you with its tail, or shoot fireballs. You will also need to keep your eye on the second Inspired. Try to focus on one angel then move onto the other. If one Inspired flies close enough to you, you will have the chance to counter via a Quick Time event. If you do so, you will jump onto the angel's back and use a multitude of Wicked Weave Punches before doing an uppercut. After the uppercut, you will grab Inspired and slam it into the ground. With the second one, just deplete its health and summon Malphas again. On Infinite Climax difficulty, a Crow will be climbing the rocks in the wall on the right side of the area. Use Crow Within to reach it.
Verse 3[]
Now that the statue is fixed, activate it to get into Witch Time. Jump across the water platforms into the ruins. Once inside, you'll be greeted with a group of Dear & Decorations (supported by Fairness on Hard).
Once they are defeated, it'll show you a brief cutscene. The way forward is hindered by a series of spike traps. These require you to watch for the patterns and find the right timing. In the first set, the spikes appear in a vertical pattern, and you can easily cross at the opposite side of where the spikes are. The second set goes in a counterclockwise pattern, the best time to cross is when the spikes are at the bottom right corner. The third set is a descending spear-head pattern, in order to cross, you will need to start moving as soon as the last row of spikes begins to fall. The last set is like the first except it is in a horizontal pattern, simply walk right behind the spikes to get across.
When you've made it through, break the rubble on your left, and pull the lever. You will be greeted with Applaud and a group of Affinity (3 Applaud + some Affinity on Hard). After they are defeated, the pressure plates will be primed.
Verse 4 (Alfheim)[]
(optional) Before activating the pressure plates and going through that door, you can return to the area where you fought the two Inspired. At the very end, you will find a portal leading to the twelfth Alfheim level, which serves as Verse 4. After finishing it on Hard difficulty, you may share your reward with the Crow sitting on the bridge along the right-hand rail.
Verse 5[]
Just like before, you will need to use Panther Within to hit all the plates and open the door. Once through, grab the pages of Antonio's notes, and climb the stairs until you reach a door. Here, you will face Grace and Glory (only Glory on Hard). Remember, these two are fast and will constantly move. Keep your eye on both of them, but try to focus your attacks on one at a time. If you manage to stun them (at the same time would be best), you will be able to land in a few more hits. You can also use Beast Within to quickly move around the battlefield. Once Grace and Glory are defeated, another pair of the same angels will replace them. Do the same thing you did with the other two, and you should be victorious.
After you have defeated these angels, run outside and you'll be rewarded with a brief cutscene. Step onto the bridge, and a group of Affinity backed by an Applaud will appear. Move forward until the bridge collapses, and another group of Applaud (3 Archer Applaud on Hard) will join the party. Once they are all defeated, use Panther Within to run and double jump over the bridge gap.
Verse 6[]
Enter the building on the other side of the bridge, and you'll watch a cutscene where Bayonetta encounters the little girl from Chapter 2 again, this time cornered by a number of angels. After the cutscene, you will have to protect the little girl while in astral form. You will be fighting a group of Affinity supported by Applaud (several waves of Affinity then Applaud on Hard).

Try to get them all to focus on you, use your guns if you have to but the key to keeping the girl safe is being fast (especially if you want the achievement A Mother's Love). Using techniques like Break Dance will do a decent amount of chip damage while also keeping you mobile. You can also use the angel's polearm to do a pole dance, which will do decent damage in a relatively large area. Gaze of Despair will make them focus solely on you, so this could be useful on harder difficulties; the only problem is that the enemies are more ferocious with that accessory equipped.
After defeating all the enemies, you will go into another cutscene where you learn the name of the little girl: Cereza.
Vigrid - Ruins[]
Verse 7[]
After the cutscene, go outside and climb the stairs. You will have to face a group of Affinity while in astral form. The only way to injure them is to use objects from the environment, such as the street pole lamp that's lying there. Be careful because Cereza can be injured in the fight, so you will need to protect her as well as defeat the angels. Once you're done, run into the tunnel.
After some distance, a large Beloved will break through the wall. You need to outrun it, to slow it down go to any dumpster or car, and activate it in order to throw the item at the angel. It'll slow down only for a bit. You will have to run down the tunnel and break open gates, you must also protect Cereza as you do this.
Paradiso - Glimpse of a Temple[]
Verse 8[]
You will find yourself in an open area with a large stone gate. Some of Antonio's notes are directly on your path and, on Normal difficulty, a Crow is working out on the left side of the gate (use Panther Within and jump to reach it).
When you are ready, go through the gate. After the cutscene, you will be faced with a pair of Fearless & Fairness (there will be a second set after the first on Hard). Be warned that Cereza follows you as you move around the area, so if one of the angels uses a swipe attack or lunges for you, it may hurt her. This fight can be tricky if you aren't fast, Cereza has the tendency to get close if you are doing combos, so you may be forced to either attack them quickly or take your time and use guerrilla tactics to hit them then back off.

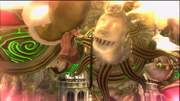
Once you have finished them off, you will walk back to where Beloved was. After a cutscene, you'll face off with the angel. Remember that this angel is slow but does a lot of damage. Instead of just its regular sweeping attacks, this angel has the tendency to stab the ground with its ax if you are attacking its front. It is larger than the other Beloved you've encountered, so you will have to double jump if you wish to reach the node on its back. It will also stomp more often and due to the smaller fighting space, you don't have too much room to maneuver. The angel will also call upon a sort of meteor shower by dropping fireballs on you, so watch for the glow on the floor.
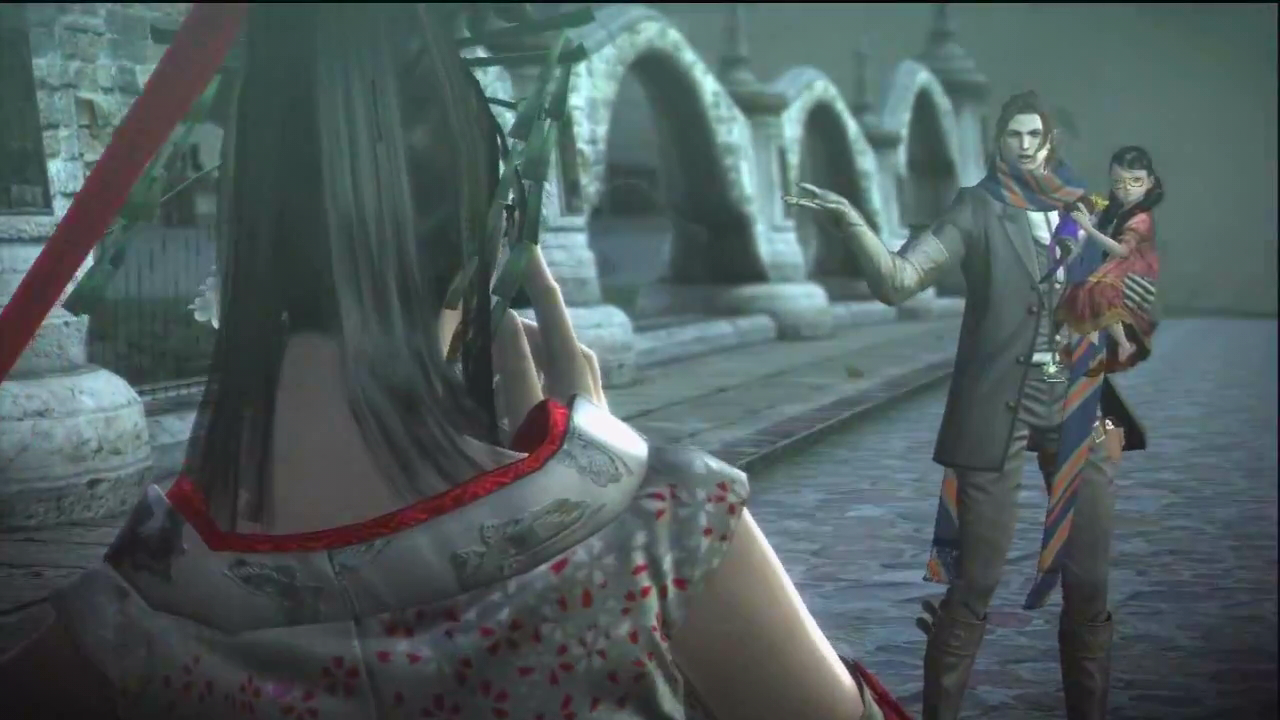
After about half of its health is gone, it'll go to a brief cutscene, then the fight will resume. Take its health down, then use an Umbran Climax to summon Gomorrah. Once the Beloved is dead, another cutscene will ensue where you learn that the Bayonetta that caught Cereza is not the real Bayonetta, as evidenced by the ominous angelic halo above her head and complete lack of the crescent moon symbol that reveals her cleavage.
Verse 9[]
Now you need to chase the Bayonetta clone down through a ruined tunnel. To make the best time during this chase, it is recommended to use Panther Within. Be careful as you proceed: laser grids will be getting in your way, and if you touch them, they will hurt you and slow you down. There are several types: horizontal, diagonal, and widespread. The horizontal ones will either be close to the ground or up in the air. The diagonal ones have the tendency to appear anywhere and will spin as they move. The widespread ones will fan out so you will need to jump through the gaps at the top or bottom. If you take too long getting through the tunnel, the clone will take Cereza away and you will die.
Once you get through the tunnel and track down your clone, you will watch a cutscene where the clone tries to take Cereza away, only to be shot down by the real Bayonetta, who engages in a dance-off with her to buy Cereza time to get to the portal to the Human World and escape.

Be ready to move after the cutscene, as the clone will attack immediately when it ends. The clone can do a lot of serious damage as well as combos, but cannot use Wicked Weaves. Your best bet is to be quick and to stun her. When she is stunned, you can damage her.
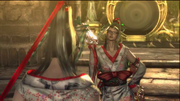
After half of the clone's health is gone, a short cutscene will ensue where the clone reveals its true self, a new angel by the name of Joy. After the cutscene ends, you will be fighting Joy in its angelic form. Joy is very fast and has a multitude of attacks from melee to long-range attacks. She also has the ability to make a copy of herself, this copy will have full health and can damage you like a regular Joy (on Hard Joy will split herself and make the copy).

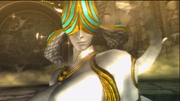
Joy can form a whip and even a sword, this whip has a very long range and acts similar to Kulshedra; it can hit you from a distance, stagger you while you're in the air, or simply knock you out of the way. The sword is very similar to Shuraba and its attacks, it has fast sword swings and can do plenty of damage. Joy will even form its own pistols and feathers. These pistols are used in a very similar fashion as Jeanne by doing wide arcs of bullets and the feathers are similar to Bayonetta's Crow Within.
The recommended weapons for Joy are Onyx Roses, Sai Fung, and Odette.
Vigrid - Air Force Base[]
Verse 10[]

After beating Joy, head through the door towards the large stone gate. You will find some of Antonio's notes on the right, and a Treasure Chest (Broken Witch Heart) behind the gate. On Hard difficulty, a Crow is having a picnic on the grass to the left of the gate. When you are ready, get back to the Human World through the gate. You will find more of Antonio's notes on the right side past the statues. Proceed forward and onto the bridge, and the chapter will end with a cutscene, in which Bayonetta encounters Luka again.
Items[]
Antonio's Notes Locations:
- Verse 1: Before you follow the stairs down to the door, the book will be on the right. (Entering Vigrid)
- Verse 5: After you activate the pressure plates and run out the door, the book will be on the stairs. (Notes On The Topic Of Magic - IV)
- Verse 8: The book is on the path immediately after escaping Verse 7. (Purgatorio, Center Of The Trinity)
- Verse 10: After you see your score for Verse 9, go out the door. The book will be on the right of the Paradiso Portal. (The Angel's Banquet Hall - Alfheim)
- Verse 10: After you exit the portal, the book will be on the right side just past the two large statues. (Prominence Bridge)
Arcade Bullet Locations:
- If you replay the level, then bullets will replace any Hearts or Pearls you had found previously.
Chest Locations:
- Verse 1: As soon as the level starts, the chest is behind you.
- Verse 1: After you defeat Ardor, then double jump up the left side wall and wall climb up. The chest will be there.
- Verse 2: After you open the door and see the cutscene, jump down on the left side into the water. There will be a pile of rocks, destroy the rocks to get to the chest.
- Verse 10: After you defeat Joy, go behind the Paradiso Portal. The chest will be there.
Broken Moon Pearl Locations:
- Verse 4: Rewarded after beating the Verse 3-4 Alfheim level.
Witch Heart Locations:
- Verse 1: After you defeat Ardor, then double jump up the left side wall and wall climb up. Break open the chest to get the Heart.
- Verse 10: After you defeat Joy, go behind the Paradiso Portal and break open the chest for the Heart.
Golden LP Locations:
- Verse 1: As soon as the level starts, turn around and break open the chest. (Les Patineurs Waltz op.183 part I)
- Verse 2: Located soon after the first, in the area where you fight the two Inspired. Near the entrance, there's a pile of rocks; destroy these to reveal a chest containing the LP piece. (Les Patineurs Waltz op.183 part II)
- Verse 9: Reward for defeating Joy. (Les Patineurs Waltz op.183 part III)
- After you collect all three pieces, you can unlock Odette.
Umbran Tears Of Blood Locations:
Normal:
- Verse 2: As soon as you enter the cavern, the crow is on the left side. Use Panter Within to reach it.
- Verse 7: After you've been chased by the Beloved, the crow is to the left of the gate near a bench. You may need to use Panther Within and then jump towards it to grab it.
Hard:
- Verse 4: After you have finished the Alfheim, the crow is on the bridge along the right-hand rail.
- Verse 9-10: After you rescue Cereza; before you head through the Paradiso portal, the crow is on the left side in the treeline (just look a little to the left of the portal and move forward). You may need to use Panther Within to run and get close enough.
Non-Stop Infinite Climax:
- Verse 2-3: After you have defeated the angels, the crow will be located immediately to your right in the rocks of the wall. You must use Crow Within to fly there.
Alfheim[]
- Verse 3-4: After you have gotten through the area with the spike traps, and killed the angels, return to the beginning where you first fought the two Inspired. The Portal will be at the very end. (Reward: Broken Moon Pearl)
Video Walkthrough[]
Normal[]
Hard/Infinite Climax:[]
Items:[]
Video (all items can be found on any difficulty, the only exception is the Umbran Tears of Blood)
| |||||||
| |||||||
| |||||||
| |||||||
|
| |||||||
| |||||||
|
| |||||||
| |||||||
|
| |||||||
| |||||||
| |||||||
|
| |||||||
| |||||||
|